Custom Canopies: A Step-by-Step Guide to Planning Your Build
Building a custom canopy is a bit like renovating a kitchen. Everyone starts out excited about the finish, the colour, the shiny hardware, and then, part way through, they realise the real value was always in the layout planning that happened before a single panel went up. Because of that, this guide focuses less on what a canopy looks like and more on how the build process actually unfolds, so you know what to expect at each stage.
I’ve sat in on enough of these consultations to know that the buyers who end up happiest are rarely the ones chasing the flashiest features. Instead, they’re the ones who understood the process early, asked the right questions at each stage, and therefore avoided the common regrets that pop up six months down the line. Let’s walk through that process properly.
Stage One: Working Out What Problem You’re Actually Solving
Before any design conversation begins, it helps to be brutally honest about why you want a canopy in the first place. Are you protecting expensive tools from theft? Are you trying to keep gear dry on long-distance trips? Or are you simply sick of loose items sliding around in the back on every corner?
Once that core problem is clear, the rest of the planning process becomes much simpler. For example, a security-driven build leads naturally toward reinforced doors and concealed locks, whereas a touring build leads toward insulation and interior fit-out. In other words, the underlying reason shapes almost every decision that follows.
A Quick Self-Assessment
Ask yourself these three questions before your first meeting with a builder: What am I protecting? How often will I access it during a working day? And finally, how long do I plan on keeping this vehicle? Answering these honestly saves considerable back-and-forth later in the design process.
Stage Two: Choosing the Right Builder for Your Situation
Not every canopy builder specialises in the same type of work, so it’s worth matching the builder to your specific use case rather than simply picking whoever’s closest or cheapest. A fabricator known for touring setups, for instance, may not have the same experience building secure service bodies for tradies, and vice versa.
Consequently, it’s worth asking to see examples of builds similar to what you’re after, rather than judging a builder purely on their general portfolio. A few pointed questions here can save you from a mismatch that only becomes obvious once the canopy is already built.
Questions Worth Asking Early
- Have you built canopies for my specific industry or use case before?
- Who does your welding, and is it done in-house?
- What warranty applies to structural welds versus general finish?
- Can I see or speak with a previous customer with a similar build?
Stage Three: The Measuring and Design Phase
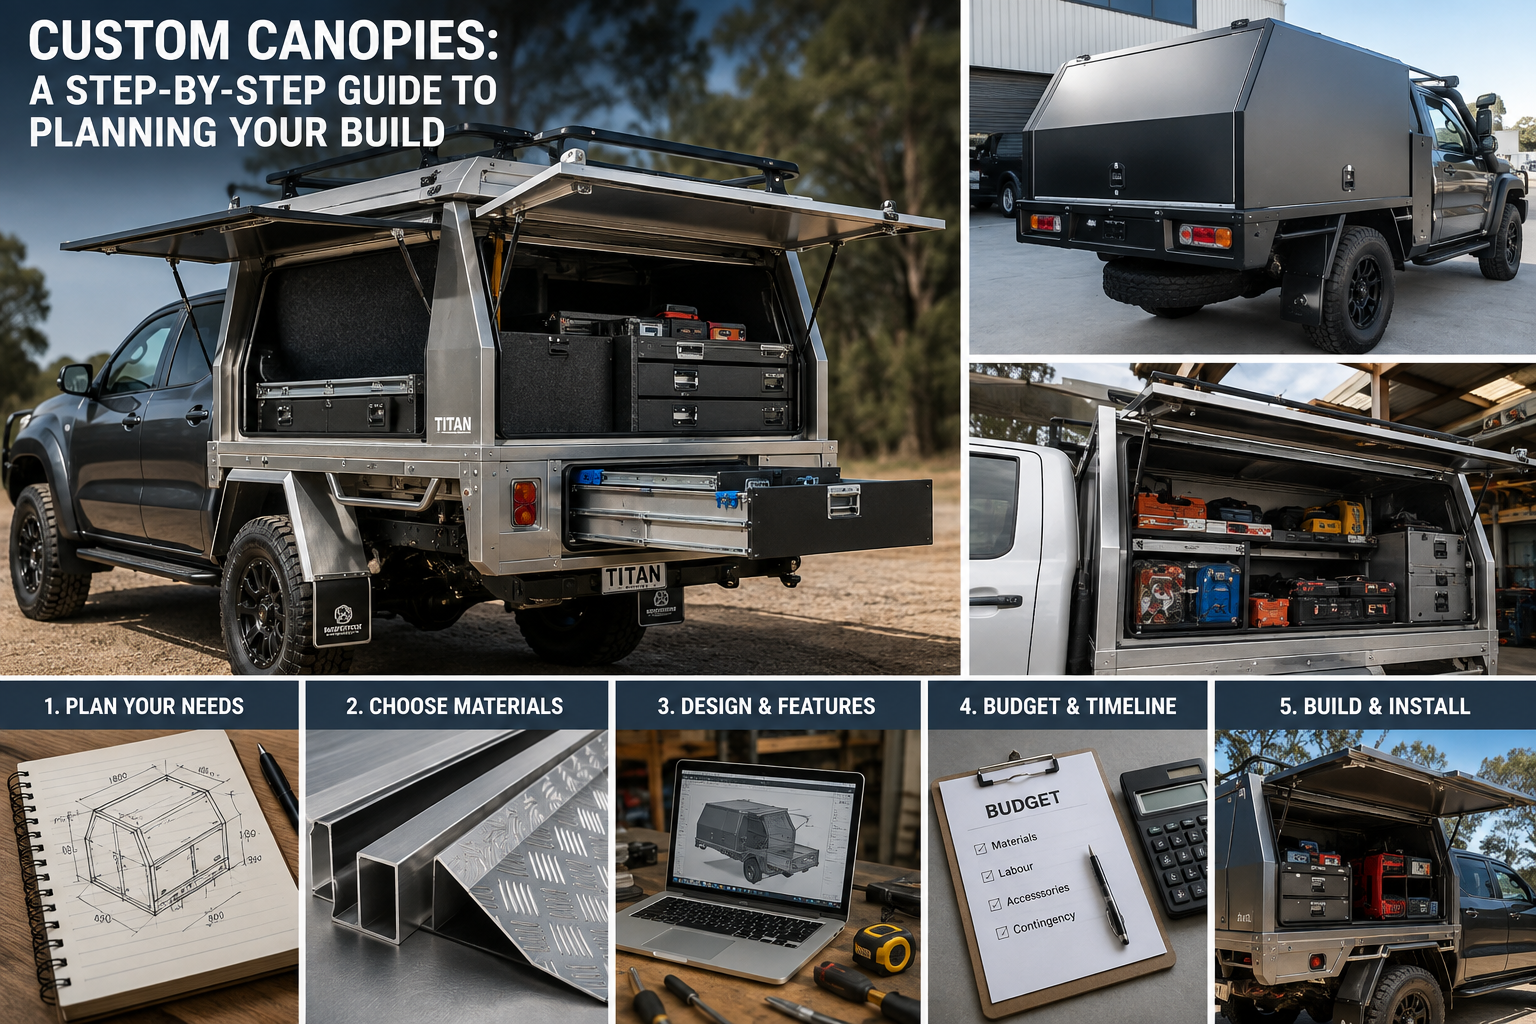
This is where the project moves from concept to something concrete. A proper measure should happen in person, against your actual vehicle, rather than being estimated from a model name or generic spec sheet. Aftermarket trays, in particular, vary enough that skipping this step often leads to fitment issues later.
During this stage, the builder should also walk you through material options, internal layout, and access points based on the problem you identified back in stage one. If a builder skips straight to pricing without discussing these details, that’s generally a sign to keep shopping around.
Material Considerations at This Stage
Aluminium tends to suit trade and commercial use particularly well, since it balances strength against weight efficiently. Fibreglass, on the other hand, is often chosen for touring builds because it moulds into smoother, more aerodynamic shapes. Steel remains a solid option too, especially for high-impact industries like mining or civil works, though it does add meaningful weight to the finished vehicle.
Stage Four: Internal Fit-Out Planning
Once the shell design is settled, attention naturally shifts to what goes inside. This is arguably the stage where the most long-term value gets created or lost, since a poorly planned interior can leave you readjusting storage for years afterward.
Rather than designing purely around your current tool kit, it’s worth building in a small amount of flexibility. Businesses grow, equipment changes, and therefore a layout with some adjustable shelving or modular drawer options tends to age far better than one built rigidly around today’s exact inventory.
Common Fit-Out Elements
- Adjustable shelving for changing stock or tool requirements
- Drawer systems with dividers for smaller parts and fittings
- Roof racks or ladder racks planned into the structural design from the start
- Dedicated charging or lighting points for cordless tools and equipment
Stage Five: Weight, Payload, and Compliance Checks
Somewhere around this point in the process, a good builder should walk you through how the finished canopy affects your vehicle’s payload. This matters because it’s easy to get swept up in features and forget that every addition, from shelving to water tanks, eats into your legal load capacity.
As a result, it’s worth requesting an estimated unladen weight for the canopy before final sign-off, then mentally subtracting that from your vehicle’s GVM alongside your typical daily load. This single step prevents a frustrating and potentially costly surprise once the canopy is fitted and loaded for the first time.
Stage Six: Build, Installation, and Final Handover
Once designs are locked in, the actual build timeline depends heavily on complexity. A simple shell might take a few weeks, whereas an elaborate service body with custom shelving, roof accessories, and specific access configurations can take considerably longer.
During installation, a thorough builder will also check alignment, seal quality, and mounting torque before handover, rather than treating fitting as a quick bolt-on job. Consequently, it’s worth asking what quality checks happen at this final stage, since this is often where small issues get caught before they become expensive problems.
What a Good Handover Looks Like
At handover, you should walk away with a clear understanding of maintenance requirements, warranty terms, and who to contact if an issue arises down the track. If a builder simply hands over the keys without this conversation, it’s worth asking for it directly.
Budgeting Realistically for a Custom Build
Cost is naturally one of the first questions buyers ask, yet it’s also one of the hardest to answer upfront, since custom builds vary enormously depending on material, size, and internal complexity. That said, a realistic budgeting conversation early on tends to prevent disappointment later, particularly once optional extras start getting added to the quote.
Rather than fixating on a single headline price, it helps to think in terms of a base shell cost plus itemised extras. For instance, shelving, drawer systems, roof racks, and additional locking mechanisms are often priced separately, so understanding this breakdown from the outset makes comparing quotes between builders far more meaningful.
Additionally, it’s worth setting aside a small contingency, typically somewhere between five and ten percent of the total quote, since minor adjustments during the fit-out stage are fairly common once you see the shell in person.
Comparing Quotes Fairly
Because specifications can vary so much between builders, it’s rarely useful to compare two quotes purely on price alone. Instead, line up what’s actually included, such as warranty length, weld quality, and material grade, before drawing any conclusions about which quote genuinely represents better value.
Common Regrets Buyers Mention Afterward
Having spoken with plenty of canopy owners well after their build was finished, a few recurring regrets tend to surface. Firstly, buyers often wish they’d planned for growth rather than their exact current tool kit. Secondly, many wish they’d asked more detailed questions about weatherproofing suited to their specific region, rather than accepting a standard seal rating. Finally, some regret not test-fitting height and access against their usual garage, carport, or towing setup before the build was finalised.
Fortunately, every one of these regrets is avoidable simply by asking the right questions during the planning stages outlined above, rather than after the canopy has already been welded together.
Final Thoughts
A custom canopy build isn’t really a single decision; it’s a sequence of smaller decisions, each building on the last. Understanding the process this way, rather than jumping straight to features and finishes, tends to lead to a far better outcome overall.
Ultimately, the buyers who end up genuinely happy with their canopy are the ones who treated the planning stage with the same seriousness as the build itself. Take your time with each stage, ask plenty of questions along the way, and the result should be a canopy that quietly does its job for years, rather than one you’re second-guessing within the first twelve months.
If you’re in Canberra and ready to start working through this process with a specialist, it’s worth reaching out to Custom Canopies in Canberra, where a local builder can walk you through measuring, materials, and layout planning in person before any design decisions are locked in.